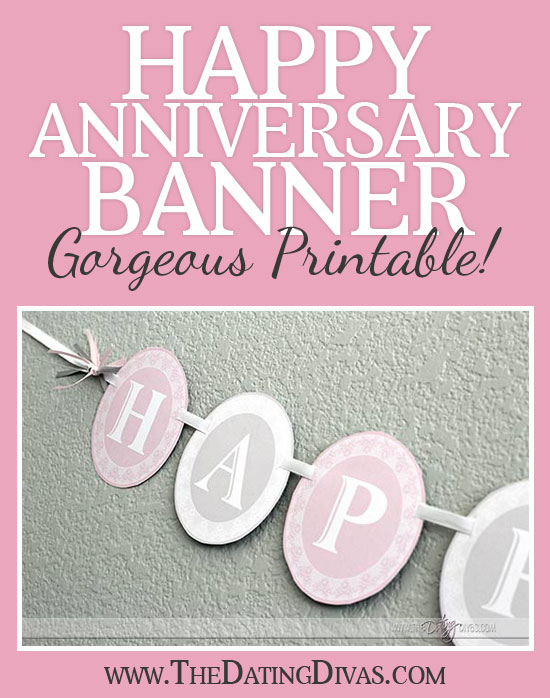
I love having banners hanging in my home. Birthday banners, baby banners, Christmas banners…you name it, I love it! I was thrilled when Sameeha from The Inked Leaf created this beautiful Happy Anniversary Banner for me to share with all of you:) Isn’t it gorgeous?!?! She is so, so talented! I LOVE that this beautiful Happy Anniversary banner can be hung and used year after year!
If you want the banner in different colors to suit your home or even use your wedding colors, she will custom design it for you. How amazing is that?!? Click here to customize your colors.
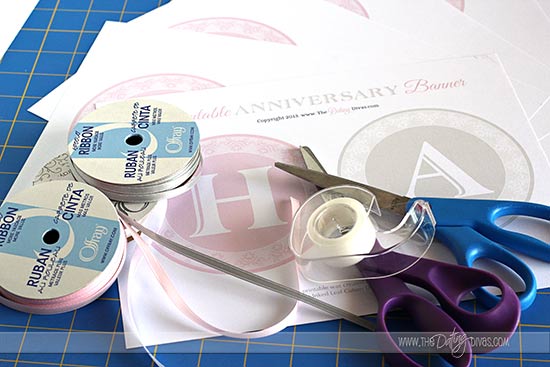
You are going to look like you are SO crafty for minimal DIY work! First off, you have to print off the banner pages.
I would highly recommend using a white cardstock so that it will be firm for hanging. Then you will also need scissors, a sharp knife, ribbon (I used white, pink, and gray), and the option of tape.
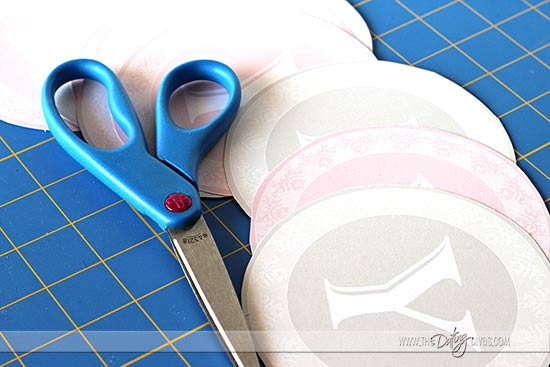
Cut out your banner into the individual circles. Don’t look too close at mine…I tried to cut them as perfectly as possible but hey, it is DIY so it has to look a little bit homemade right?
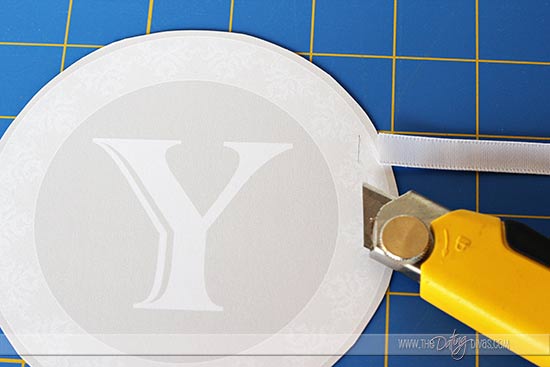
Now you are going to put the ribbon you are going to string your banner on beside a circle. I just eyeballed it, but you can totally use a ruler and pencil if you’d like to! Just make a little slit up the side to pull the ribbon through on each side of the circle.
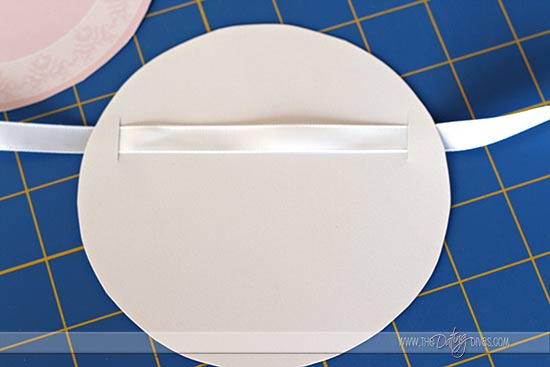
This is how it will look from the back when you pull the ribbon through. You can put a little piece of tape to secure the ribbon on the back if you’d like to here.
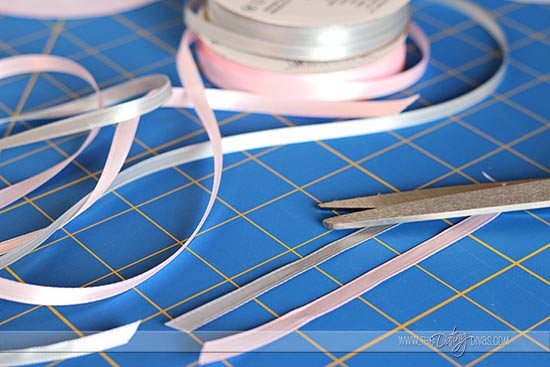
I wanted to make mine a little bit snazzier, so I cut gray and pink ribbon into 5 inch strips to tie on the ends of the banner.
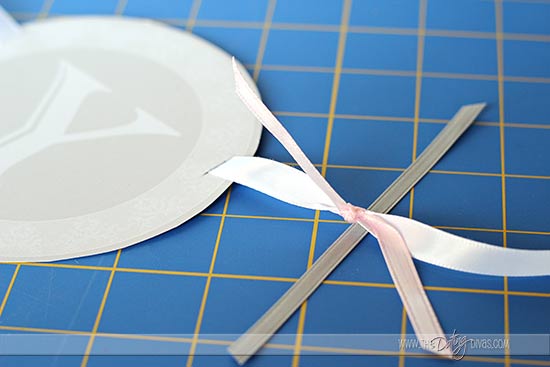
Here’s how I tied it, I used 6 pieces of ribbon for each little tuft, but you can do as many or as few as you’d like:
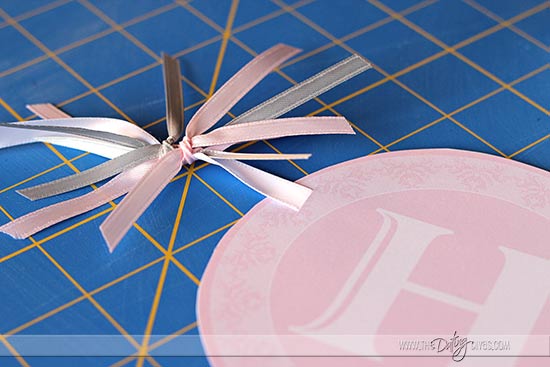
I ended up putting a ribbon tuft on each end of the banner as well as in the middle between the words ‘Happy’ and ‘Anniversary’. This banner turned out to be REALLY long, which is great if you have a big wall to put it on, but you could easily make it into two smaller banners as well, and have one above the other and it would look really gorgeous.
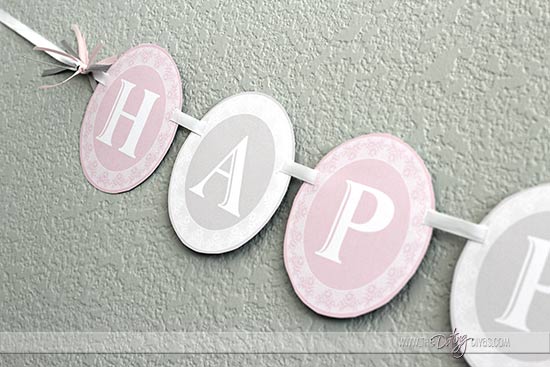
That is it!! Once you complete this project you can totally consider yourself a crafty DIY! Your sweetie will LOVE seeing this banner up on your anniversary year after year and it will be a fun way to let everyone know that comes into your house that you are celebrating a VERY special day!!
If you love this banner but want it in different colors to match your décor or use your wedding colors, Sameeha at The Inked Leaf will happily do one for you for just $5, check out this page to see all the color choices she has available.
Original article and pictures take www.thedatingdivas.com site
Комментариев нет:
Отправить комментарий